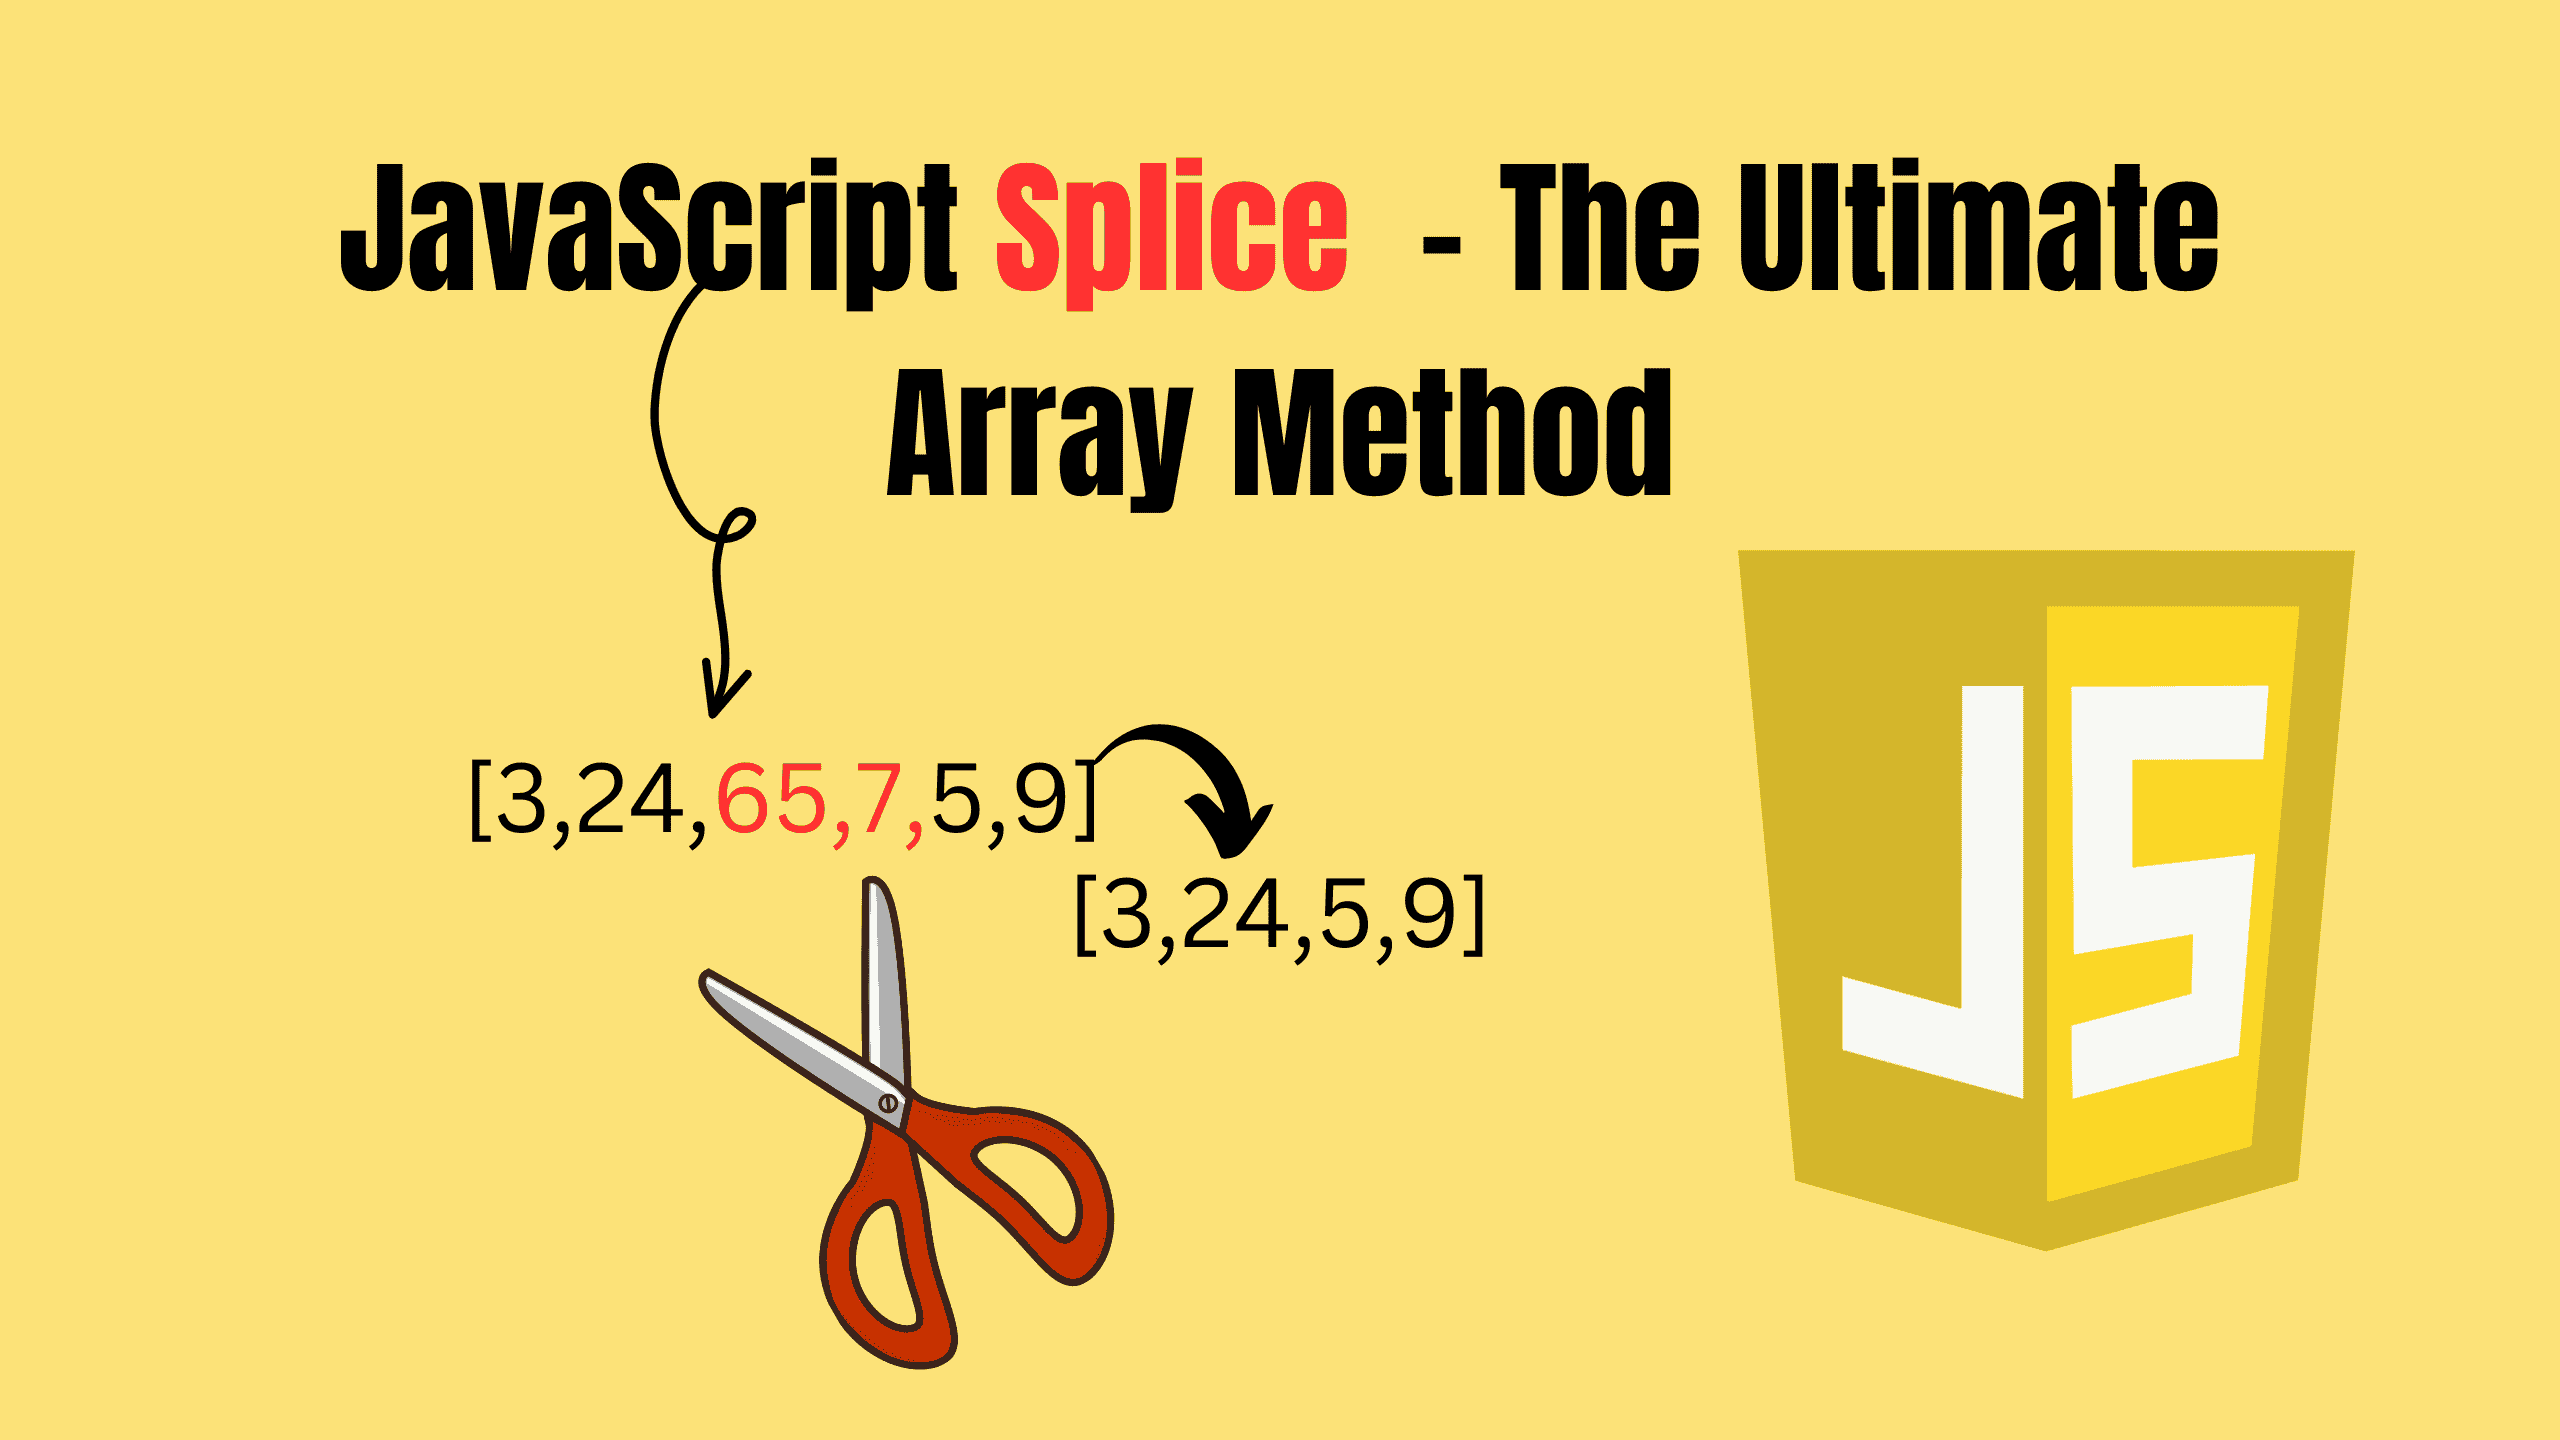
JavaScript Splice - The Ultimate Array Method

JavaScript developers, both new and experienced, constantly come across the need to manipulate arrays. Arrays are at the heart of so many things in JavaScript, and having the right tools to handle them makes life a lot easier.
Among all the array methods, there's one that deserves a special spotlight: .splice(). If you’re not already best friends with this method, by the end of this post, you’ll be singing its praises. Let’s dive into why splice() is a game-changer and how to master it.
What Is splice?
First things first: what does splice do? Simply put, splice allows you to change the contents of an array by removing, replacing, or adding elements. It’s like the Swiss Army knife of array manipulation. With just one method, you can:
- Remove elements from an array.
- Insert new elements into an array.
- Replace elements within an array.
It’s powerful, versatile, and once you understand it, you’ll wonder how you ever lived without it.
The Basic Syntax
Take the array and then just call it, Here’s how splice works:
jsarray.splice(start, deleteCount, item1, item2, ...)
Let’s break it down:
- start: The index where you want to begin making changes.
- deleteCount: The number of elements to remove, starting from the start index.
- item1, item2, ...: (Optional) The elements you want to add at the start index.
Now let’s see splice in action!
1. Removing Elements
Need to get rid of elements from an array? splice has got you covered.
jsconst fruits = ['apple', 'banana', 'cherry', 'date']; fruits.splice(1, 2); console.log(fruits); // ['apple', 'date']
What happened here?
- Started at index 1 (‘banana’).
- Removed 2 elements (‘banana’ and ‘cherry’).
- The remaining array is ['apple', 'date'].
It’s that simple.
2. Adding Elements
Want to add some elements into your array? splice makes it ridiculously easy.
jsconst veggies = ['carrot', 'pea', 'spinach']; veggies.splice(2, 0, 'broccoli', 'cauliflower'); console.log(veggies); // ['carrot', 'pea', 'broccoli', 'cauliflower', 'spinach']
Here’s what we did:
- Started at index 2 (‘spinach’).
- Removed 0 elements (nothing was deleted).
- Added ‘broccoli’ and ‘cauliflower’ starting at index 2.
Notice that deleteCount was 0. This tells .splice() function not to remove anything but to simply insert the new items at the specified index.
3. Replacing Elements
Replacing elements in an array? Oh, Array .splice() function can do that too.
jsconst colors = ['red', 'blue', 'green']; colors.splice(1, 1, 'yellow'); console.log(colors); // ['red', 'yellow', 'green']
What happened?
- Started at index 1 (‘blue’).
- Removed 1 element (‘blue’).
- Added ‘yellow’ in its place.
And just like that, the array was updated.
Mixing It Up: Remove and Add
You’re not limited to just one action at a time. JavaScript array splice method can handle multiple tasks in one go. Let’s remove and add simultaneously.
jsconst animals = ['dog', 'cat', 'mouse', 'elephant']; animals.splice(1, 2, 'lion', 'tiger'); console.log(animals); // ['dog', 'lion', 'tiger', 'elephant']
Here’s the breakdown:
- Started at index 1 (‘cat’).
- Removed 2 elements (‘cat’ and ‘mouse’).
- Added ‘lion’ and ‘tiger’ starting at index 1.
It’s like a mini array makeover!
A Few Things to Keep in Mind
1. Mutates the Original Array
One important thing about splice: it modifies the original array. Unlike methods like slice, which return a new array and leave the original untouched, splice goes in and makes changes directly.
jsconst nums = [1, 2, 3, 4]; nums.splice(2, 1); console.log(nums); // [1, 2, 4]
If you want to keep the original array intact, you’ll need to make a copy before using array .splice().
jsconst numsCopy = nums.slice(); numsCopy.splice(2, 1); console.log(nums); // Original remains unchanged.
2. Returns the Removed Items
Did you know JavaScript splice doesn’t just modify the array? It also returns the elements it removed. This can be super handy.
jsconst cities = ['Paris', 'London', 'Tokyo', 'New York']; const removedCities = cities.splice(1, 2); console.log(removedCities); // ['London', 'Tokyo'] console.log(cities); // ['Paris', 'New York']
3. Use Negative Indexing
You can use negative numbers in splice, just like many other JavaScript methods. A negative start index counts from the end of the array.
jsconst snacks = ['chips', 'cookies', 'nuts', 'popcorn']; snacks.splice(-2, 1, 'pretzels'); console.log(snacks); // ['chips', 'cookies', 'pretzels', 'popcorn']
Why splice Is the Only Array Method You’ll Ever Need?
Okay, maybe calling it the only array method is a bit dramatic, but here’s why splice is so amazing:
- It’s All-in-One: Adding, removing, and replacing elements? Check, check, and check.
- Simple and Intuitive: Once you understand the syntax, it’s incredibly straightforward.
- Highly Flexible: Whether you’re working with a single element or juggling multiple changes, splice handles it all.
Sure, other methods like .push(), .pop(), .shift(), and .unshift() are great for specific tasks, but .splice() can replicate most of their functionality and then some.
Conclusion
If you haven’t been using splice, now’s the time to start. It’s a powerhouse that can simplify your code and make array manipulation a breeze. Whether you’re cleaning up data, inserting new items, or replacing old ones, splice() has your back. Take some time to play around with it. Try removing, adding, and replacing elements in different ways. The more you use it, the more you’ll appreciate just how versatile it is.
Follow and Support me on Medium and Patreon. Clap and Comment on Medium Posts if you find this helpful for you. Thanks for reading it!!!


