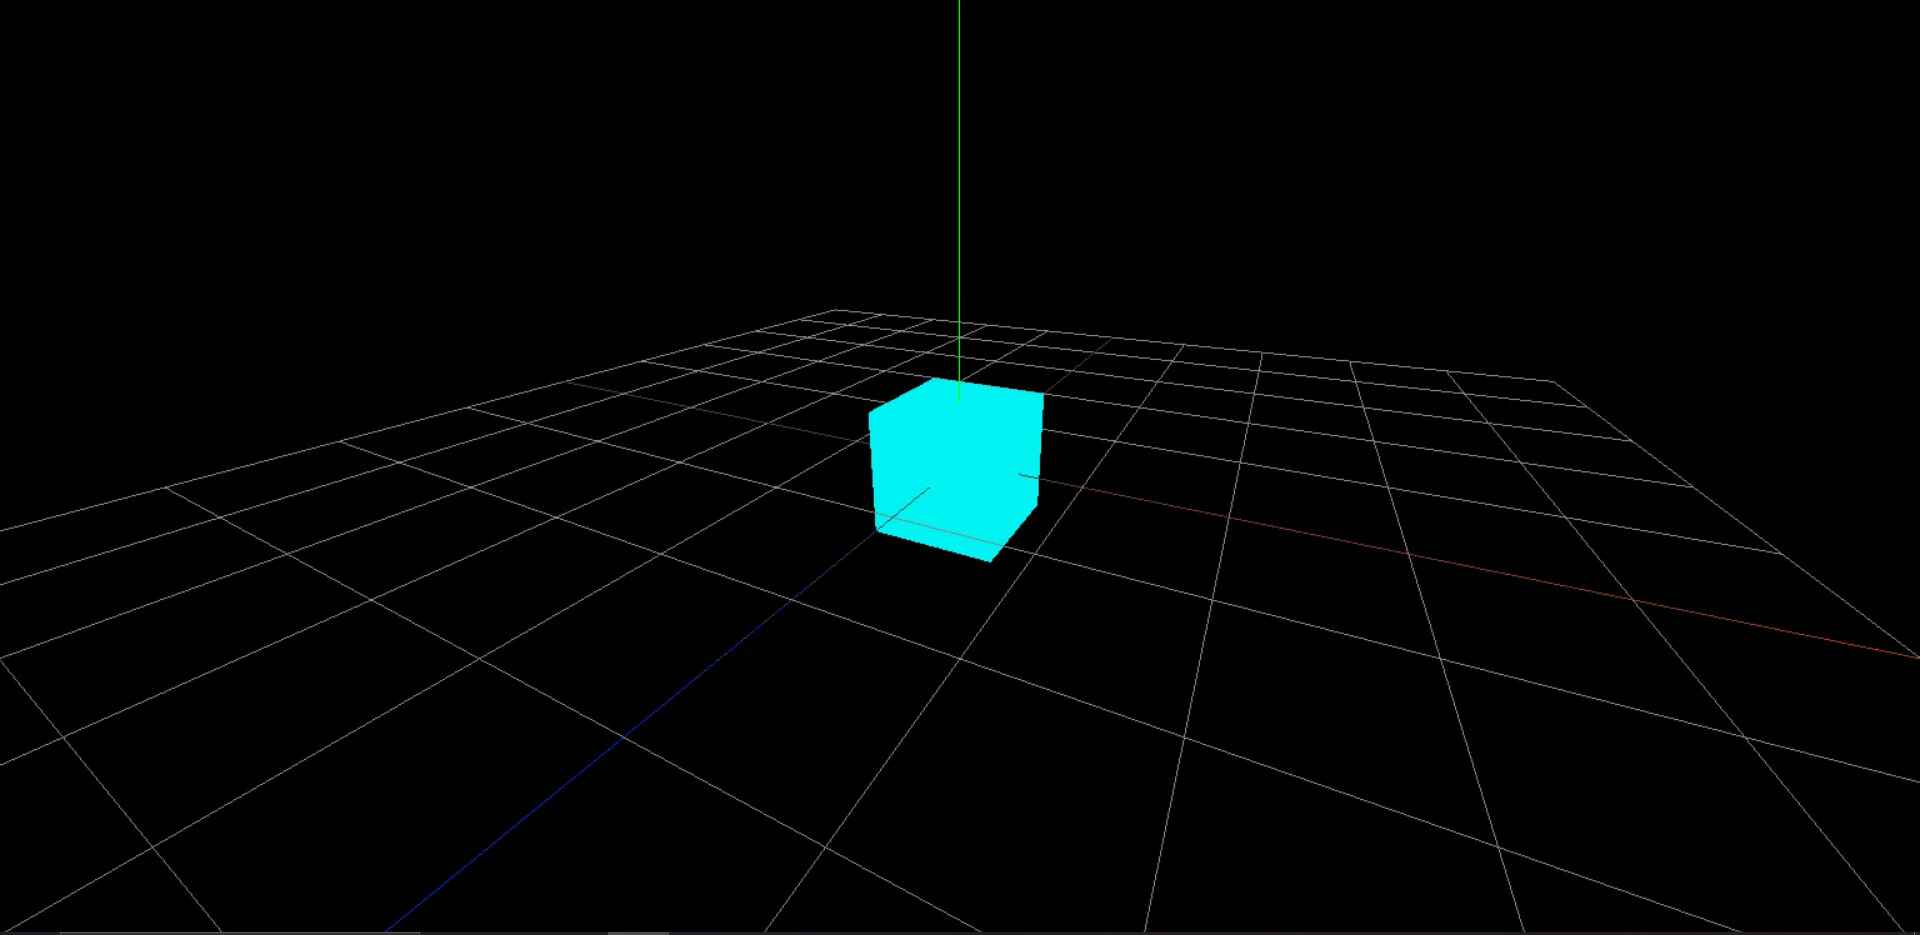
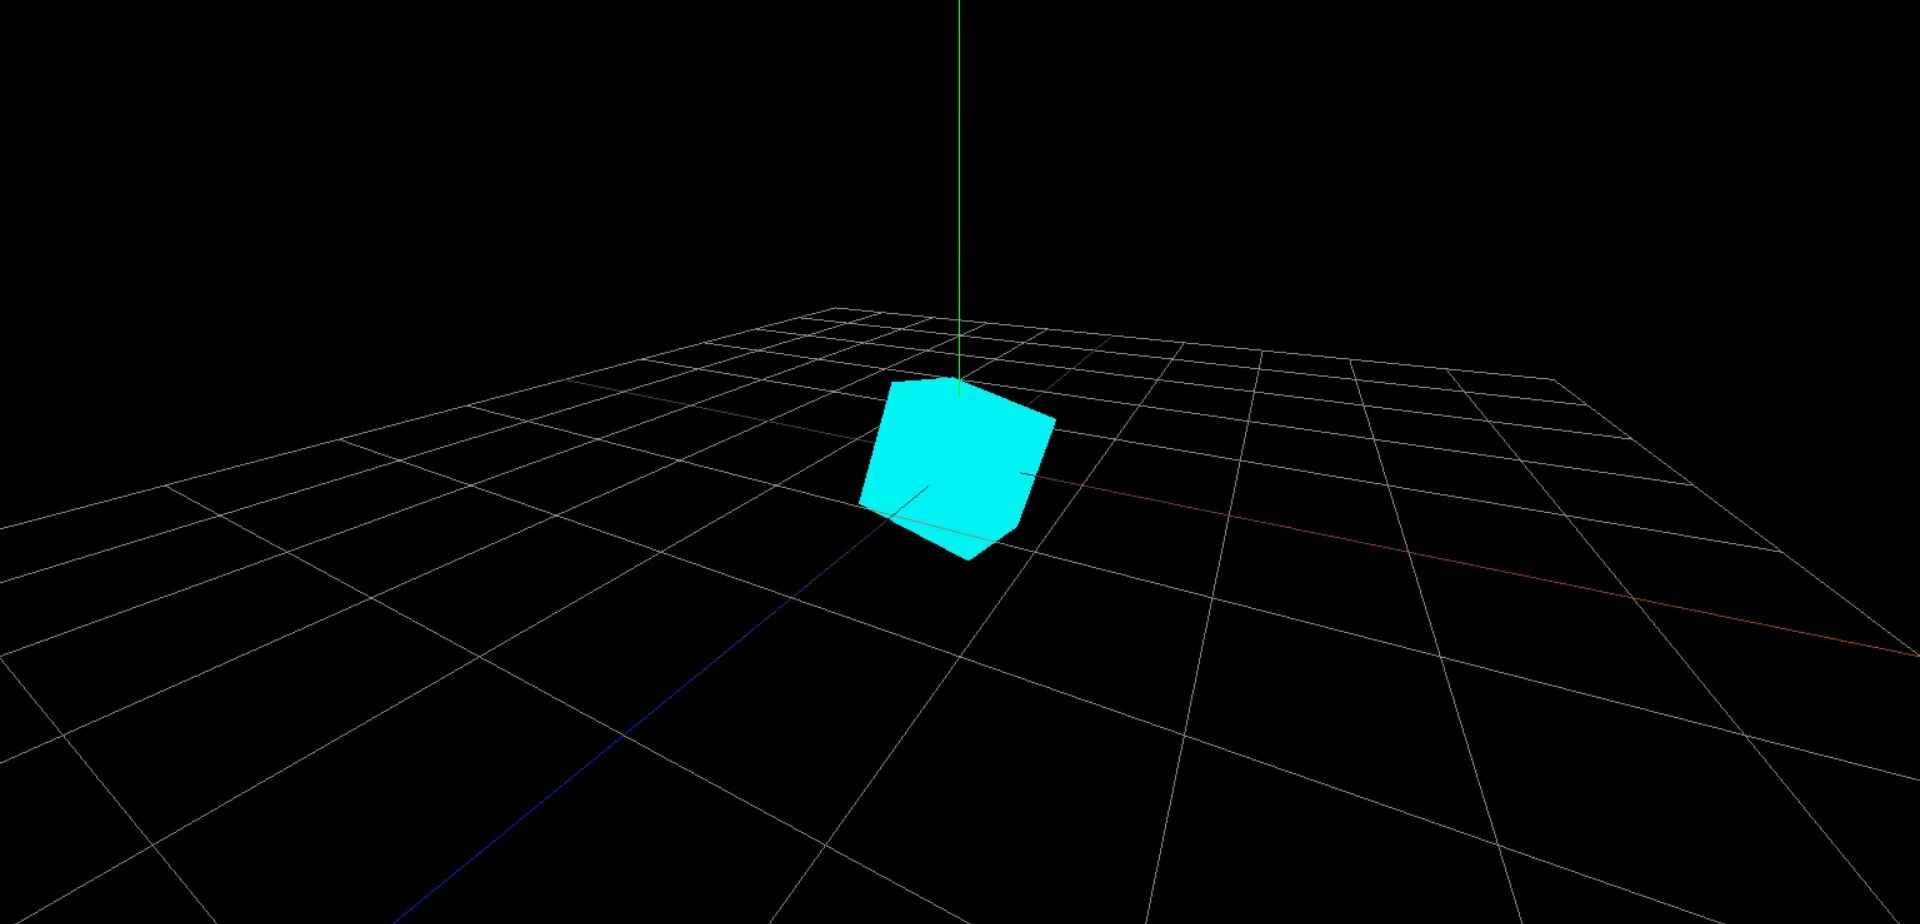
How to setup Three.js project? (Beginner Guide 01)
Three.js
Three.js is a powerful and versatile JavaScript library for creating stunning 3D graphics and interactive web experiences. In order to get started with Three.js, you need to set up a project that includes the necessary files and dependencies. In this blog blog, we'll walk you through the steps to set up a basic Three.js project.

Its key features include:
- Cross-Browser WebGL Support: Simplifies WebGL for consistent rendering across browsers.
- Scene Graph System: Organizes objects hierarchically for easy management.
- Diverse Geometries and Materials: Offers built-in shapes, PBR materials, and texture support.
- Lighting and Shadows: Supports multiple light types and dynamic shadows.
- Animation Tools: Enables object animations, skeletal rigging, and blending.
- Advanced Rendering: Post-processing, HDR, and environment mapping for realism.
- Interactive Features: Handles user interactions and integrates with physics engines.
- VR and AR Ready: Built-in WebXR support for immersive experiences.
Vite
Vite is a modern build tool that provides fast and efficient development experience for web applications. In this blog blog, we'll walk you through the steps to set up a Three.js project using Vite.

Its key features include:
- Fast Development Server: Instant server startup and Hot Module Replacement (HMR) using native ES modules.
- Optimized Builds: Efficient production bundling with Rollup and tree-shaking.
- Framework Support: Built-in compatibility with Vue, React, Svelte, and more.
- Extensible Plugin System: Supports Rollup plugins for easy customization.
- Dynamic Imports: Enables code splitting for faster load times.
Step 1: Install Node JS
The first step is to install Node JS. Node.js is a cross-platform, open-source JavaScript runtime environment that can run on Windows, Linux, Unix, macOS, and more. Node.js runs on the V8 JavaScript engine, and executes JavaScript code outside a web browser. You can install Node JS.
Step 2: Create a new project
The next step is to create a new project using Vite. You can create a new project using npm or yarn, after running this command you will be prompted to select template and language. Select 'Vanilla' as the template for your project. And then select 'JavaScript' as the language for your project.
bashnpm create vite my-project
Step 3: Install Packages
The next step is to install Three.js. First go to my-project directory. Run this command to install all require packages using npm or yarn:
bashnpm install
Then you can install Three.js. Here's how to install Three.js:
bashnpm install three
Step 4: Set up the Project Structure
Now it's time to remove unnecessary files and create required. Remove counter.js and javascript.svg. Replace the index.html and style.css file with the following code:
html<!DOCTYPE html> <html lang="en"> <head> <meta charset="UTF-8" /> <link rel="icon" type="image/svg+xml" href="/vite.svg" /> <meta name="viewport" content="width=device-width, initial-scale=1.0" /> <title>Three.js Project</title> </head> <body> <script type="module" src="/main.js"></script> </body> </html>
css* { box-sizing: border-box; } body, html { width: 100vw; height: 100vh; margin: 0; padding: 0; overflow: hidden; }
Step 5: Setup Three.js
To setup the Three.js, open the main.js file and replace with the following code:
jsimport './style.css' import * as THREE from 'three'; // Initialize Three.js const scene = new THREE.Scene(); const camera = new THREE.PerspectiveCamera(75, window.innerWidth / window.innerHeight, 0.1, 1000); camera.position.set(2, 2, 4); camera.lookAt(0, 0, 0); const renderer = new THREE.WebGLRenderer(); renderer.setSize(window.innerWidth, window.innerHeight); document.body.appendChild(renderer.domElement); // Render the scene renderer.render(scene, camera);
Step 6: Start the development server
To start the development server, navigate to the project folder in your terminal and run the following command:
bashnpm run dev
This will start the development server on port 3000. You can now open your browser and navigate to localhost:3000 to view your Three.js project.
Conclusion
Good news! You've successfully set up a Three.js project using Vite. Now you can start building your Three.js project. If you have any questions, please feel free to contact me. I'm always happy to help.
Follow and Support me on Medium and Patreon. Clap and Comment on Medium Posts if you find this helpful for you. Thanks for reading it!!!

