Godot State Machine Tutorial - Enum vs Node Approach
Every character controller starts clean. Then you add jumping, and a few if is_on_floor() checks appear. Then a dash, which should not work mid-attack. Then wall sliding, which cancels the dash, unless the player is hurt. A week later _physics_process() is two hundred lines of booleans (is_jumping, is_dashing, can_dash, was_hurt) and every new feature breaks an old one.
A Godot state machine fixes this by making one simple rule explicit: the character is in exactly one state at a time, and each state owns its own logic. This tutorial builds a Godot 4 state machine for a 2D platformer character in two ways:
- The enum approach: one script, an enum and a
matchstatement. Fast to write, perfect for small cases. - The node approach: one node per state. More setup, but it scales to dozens of states and stays readable.
Then we compare them honestly so you can pick the right one for your project, rather than the one that looks most impressive in a tutorial.
1. What Is a Finite State Machine?
A finite state machine (FSM) has three parts:
- States: a fixed, finite list of situations the object can be in. For a player:
IDLE,RUN,JUMP,FALL. - Transitions: rules for moving from one state to another. "From
RUN, if the player presses jump, go toJUMP." - Enter and exit actions: code that runs once when a state starts or ends. Playing an animation on enter, resetting a timer on exit.
The key idea is that only the current state's logic runs each frame. The JUMP state never has to ask "am I dashing?", because if you were dashing you would be in the DASH state instead.
Here is the machine we are going to build:
| From | Condition | To |
|---|---|---|
| Idle | Horizontal input | Run |
| Idle, Run | Jump pressed on floor | Jump |
| Idle, Run | Not on floor | Fall |
| Run | No horizontal input | Idle |
| Jump | Vertical velocity turns positive | Fall |
| Fall | Landed | Idle or Run |
2. The Enum Approach
The enum approach keeps everything in the player script. An enum names the states, a variable holds the current one, and match runs the right code. If match is new to you, read my Godot Match Statement guide first. It takes five minutes.
Setting Up the Scene
Create a CharacterBody2D named Player with three children: a CollisionShape2D, an AnimatedSprite2D (with animations named idle, run, jump and fall), and nothing else for now. Add input actions move_left, move_right and jump in Project Settings > Input Map.
The Full Script
gdscriptextends CharacterBody2D enum State { IDLE, RUN, JUMP, FALL } @export var speed := 220.0 @export var jump_velocity := -420.0 @export var gravity := 1200.0 var state: State = State.IDLE @onready var sprite: AnimatedSprite2D = $AnimatedSprite2D func _ready() -> void: _enter_state(state) func _physics_process(delta: float) -> void: var direction := Input.get_axis("move_left", "move_right") match state: State.IDLE: velocity.x = move_toward(velocity.x, 0.0, speed) if not is_on_floor(): change_state(State.FALL) elif Input.is_action_just_pressed("jump"): change_state(State.JUMP) elif direction != 0.0: change_state(State.RUN) State.RUN: velocity.x = direction * speed if not is_on_floor(): change_state(State.FALL) elif Input.is_action_just_pressed("jump"): change_state(State.JUMP) elif direction == 0.0: change_state(State.IDLE) State.JUMP: velocity.y += gravity * delta velocity.x = direction * speed if velocity.y >= 0.0: change_state(State.FALL) State.FALL: velocity.y += gravity * delta velocity.x = direction * speed if is_on_floor(): change_state(State.RUN if direction != 0.0 else State.IDLE) if direction != 0.0: sprite.flip_h = direction < 0.0 move_and_slide() func change_state(next: State) -> void: if next == state: return _exit_state(state) state = next _enter_state(state) func _enter_state(s: State) -> void: match s: State.IDLE: sprite.play("idle") State.RUN: sprite.play("run") State.JUMP: velocity.y = jump_velocity sprite.play("jump") State.FALL: sprite.play("fall") func _exit_state(_s: State) -> void: pass
Why This Already Beats a Pile of Booleans
velocity.y = jump_velocitylives in_enter_state(State.JUMP), so it runs exactly once per jump. Nowas_jump_pressed_last_frameflag.- Every transition goes through
change_state(), so there is one place to add logging, sound effects or debugging. - The typed
var state: Statemeans the editor autocompletes states and warns if you assign a random integer. My Godot Enum guide covers typed enums in more depth, including a transition table you can bolt onto this machine to reject illegal transitions.
Where the Enum Approach Starts to Hurt
Add DASH, WALL_SLIDE, ATTACK, HURT, CLIMB and DEAD, and this script passes 400 lines. Each state's per-frame code, enter code and exit code live in three different match blocks far apart from each other. State-specific variables (the dash timer, the attack combo counter) pile up at the top of the file and are visible to every state. That is the moment to switch to nodes.
3. The Node Approach
In the node approach, each state is its own node with its own script. A StateMachine node holds them all and forwards the engine callbacks to whichever state is active.
The scene tree looks like this:
textPlayer (CharacterBody2D) ├── CollisionShape2D ├── AnimatedSprite2D └── StateMachine (Node) ├── Idle (Node) ├── Run (Node) ├── Jump (Node) └── Fall (Node)
This has a few instant benefits. Each state's code is in a short, focused file. State-specific variables are private to that state. And you can see every state in the scene tree at a glance.
Step 1: The State Base Class
Every state extends this class. It defines the interface the machine calls, and a signal the state emits when it wants to hand over control.
gdscript# state.gd class_name State extends Node signal finished(next_state_name: StringName) var player: CharacterBody2D func enter() -> void: pass func exit() -> void: pass func handle_input(_event: InputEvent) -> void: pass func update(_delta: float) -> void: pass func physics_update(_delta: float) -> void: pass
Notice that states do not call each other directly. They emit finished and let the machine do the switching. That is the "signal up" half of Godot's "call down, signal up" rule, which I explain in detail in my Godot Signals guide.
Step 2: The StateMachine Node
gdscript# state_machine.gd class_name StateMachine extends Node @export var initial_state: State var current_state: State var states: Dictionary = {} func _ready() -> void: for child in get_children(): if child is State: states[child.name] = child child.player = owner as CharacterBody2D child.finished.connect(_on_state_finished) await owner.ready current_state = initial_state current_state.enter() func _unhandled_input(event: InputEvent) -> void: if current_state: current_state.handle_input(event) func _process(delta: float) -> void: if current_state: current_state.update(delta) func _physics_process(delta: float) -> void: if current_state: current_state.physics_update(delta) func _on_state_finished(next_state_name: StringName) -> void: var next_state: State = states.get(next_state_name) if next_state == null: push_error("State '%s' does not exist" % next_state_name) return if next_state == current_state: return current_state.exit() current_state = next_state current_state.enter()
Two lines deserve an explanation:
child.player = owner as CharacterBody2Dgives every state a reference to the player.owneris the root of the saved scene, which is thePlayer.await owner.readywaits until the player itself has finished_ready(). Children become ready before their parents, so without this line the first state could run before the player's@onreadyvariables exist.
Step 3: The States
Keep shared tuning values on the player (speed, gravity, jump_velocity, exported so designers can tweak them) and let states read them.
gdscript# player.gd extends CharacterBody2D @export var speed := 220.0 @export var jump_velocity := -420.0 @export var gravity := 1200.0 @onready var sprite: AnimatedSprite2D = $AnimatedSprite2D func get_direction() -> float: return Input.get_axis("move_left", "move_right") func _physics_process(_delta: float) -> void: var direction := get_direction() if direction != 0.0: sprite.flip_h = direction < 0.0 move_and_slide()
The player's own _physics_process only calls move_and_slide() and flips the sprite. All decision making lives in the states. Parents process before their children, so the player moves with the velocity the state set on the previous frame. If you prefer the state to run first, move the move_and_slide() call into each state's physics_update() instead.
gdscript# idle.gd extends State func enter() -> void: player.sprite.play("idle") func physics_update(_delta: float) -> void: player.velocity.x = move_toward(player.velocity.x, 0.0, player.speed) if not player.is_on_floor(): finished.emit(&"Fall") elif Input.is_action_just_pressed("jump"): finished.emit(&"Jump") elif player.get_direction() != 0.0: finished.emit(&"Run")
gdscript# run.gd extends State func enter() -> void: player.sprite.play("run") func physics_update(_delta: float) -> void: var direction := player.get_direction() player.velocity.x = direction * player.speed if not player.is_on_floor(): finished.emit(&"Fall") elif Input.is_action_just_pressed("jump"): finished.emit(&"Jump") elif direction == 0.0: finished.emit(&"Idle")
gdscript# jump.gd extends State func enter() -> void: player.velocity.y = player.jump_velocity player.sprite.play("jump") func physics_update(delta: float) -> void: player.velocity.y += player.gravity * delta player.velocity.x = player.get_direction() * player.speed if player.velocity.y >= 0.0: finished.emit(&"Fall")
gdscript# fall.gd extends State @export var coyote_time := 0.1 var _coyote_timer := 0.0 func enter() -> void: player.sprite.play("fall") _coyote_timer = coyote_time func physics_update(delta: float) -> void: _coyote_timer -= delta player.velocity.y += player.gravity * delta player.velocity.x = player.get_direction() * player.speed if _coyote_timer > 0.0 and Input.is_action_just_pressed("jump"): finished.emit(&"Jump") elif player.is_on_floor(): finished.emit(&"Run" if player.get_direction() != 0.0 else &"Idle")
Look at fall.gd. I slipped in coyote time, the grace period that lets players jump a moment after walking off a ledge. Its timer variable belongs to the Fall state alone and cannot leak into other states. In the enum version, that variable would sit at the top of the player script next to everything else. This is the node approach's biggest win in practice. (For a production build, only allow the coyote jump when the fall began by walking off a ledge rather than after a jump, for example by passing a flag into enter().)
Step 4: Wire It Up in the Editor
- Attach
state_machine.gdto theStateMachinenode and each state script to its child. - Select
StateMachineand drag theIdlenode into the Initial State slot in the Inspector. - Run the scene.
Adding a new state is now a repeatable recipe: create a node, extend State, fill in enter() and physics_update(), and emit finished from the states that should lead to it.
4. Enum vs Node: An Honest Comparison
| Enum approach | Node approach | |
|---|---|---|
| Setup time | Minutes | Around half an hour the first time |
| Files | One | One per state, plus two base scripts |
| Best size | 2 to 5 simple states | 5 or more states, or states with their own data |
| State-specific variables | Shared across the whole script | Private to each state |
| Visible in the editor | No | Yes, in the scene tree |
Per-state @export tuning | Awkward | Natural (see coyote_time) |
| Reuse across characters | Copy and paste | Share state scenes and scripts |
| Debugging | Print state | Print current_state.name, or show it in a Label |
| Risk | Grows into a giant match | Over-engineering tiny objects |
My rule of thumb:
- Doors, pickups, traffic lights, simple enemies: enum. A door with
OPEN,CLOSED,LOCKEDdoes not need four nodes. - Player controllers, bosses, complex AI: nodes. Anything that will keep growing through development.
- Unsure? Start with the enum. Refactoring to nodes later is mechanical: each
matchbranch becomes a state'sphysics_update(), each_enter_statebranch becomes itsenter().
5. Going Further
Debug Label
Seeing the current state on screen saves hours. Add a Label above the player and update it on every transition:
gdscript# in StateMachine, at the end of _on_state_finished() if has_node("../StateLabel"): get_node("../StateLabel").text = String(current_state.name)
Passing Data Between States
Sometimes a state needs context: which way the player was knocked back, whether a fall started from a jump. Extend the signal with an optional dictionary and pass it into enter():
gdscriptsignal finished(next_state_name: StringName, data: Dictionary) func enter(_data: Dictionary = {}) -> void: pass
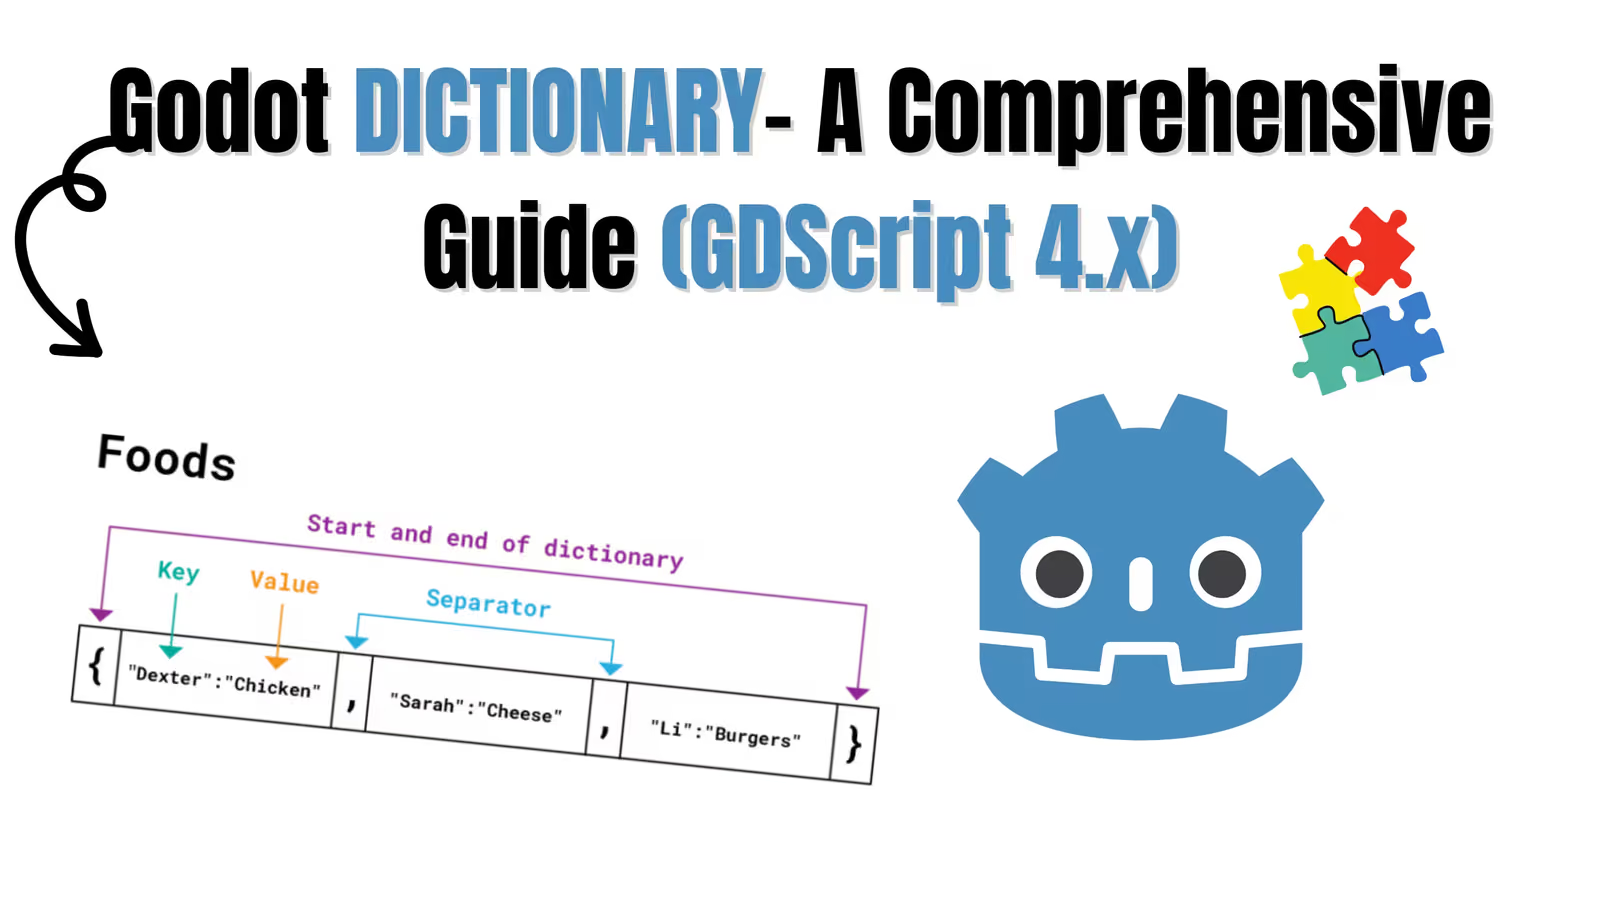
Update _on_state_finished() in the machine to accept the second parameter and call current_state.enter(data). Then emit it with finished.emit(&"Hurt", {"knockback": Vector2(-200, -150)}) and read it in the Hurt state's enter(). The Godot Dictionary guide covers safe access with get() and defaults.
Hierarchical States
When several states share logic (every "grounded" state checks for jump input and falling), you can build a small hierarchy with inheritance: a GroundedState extends State and handles the shared checks, and Idle and Run extend GroundedState and call super.physics_update(delta). This keeps a growing machine from duplicating the same five lines everywhere.
Animation State Machines Are a Different Tool
Godot's AnimationTree has a built-in AnimationNodeStateMachine with a visual graph and a travel() method for smooth blending. It is excellent for animation transitions, but it is not meant to hold gameplay logic. A common and clean setup is to use a gameplay FSM like the one above and have each state's enter() tell the animation state machine where to go:
gdscript@onready var playback: AnimationNodeStateMachinePlayback = $AnimationTree.get("parameters/playback") func enter() -> void: playback.travel("run")
6. Common Mistakes
| Mistake | Symptom | Fix |
|---|---|---|
States calling change_state() on each other | Tangled dependencies, hard to trace | Emit finished and let the machine switch |
Running enter() before the owner is ready | Null references on the first frame | await owner.ready in the machine |
| Transition logic duplicated in many states | Changing a rule means editing five files | Use a shared parent state |
| Changing state and continuing the old state's code | Two states act in the same frame | return right after emitting a transition |
| Typo in a state name string | Nothing happens | push_error on unknown names, as above |
| Gameplay logic inside AnimationTree | Logic hidden in a graph | Keep gameplay in your FSM, animations in the tree |
7. Frequently Asked Questions
Is there a built-in state machine in Godot 4?
Only for animations (AnimationNodeStateMachine inside AnimationTree). For gameplay logic you write your own, which is why the two approaches above are so common. Community plugins exist too, but the node approach here is short enough that most developers own the code instead.
Should states be Nodes or RefCounted objects?
Nodes are easier: they show up in the scene tree, support @export, and get engine callbacks forwarded naturally. RefCounted states are lighter and work well when you spawn hundreds of AI agents that each need a machine. Start with nodes and switch only if profiling says so.
How do I make the enemy AI use the same machine?
The StateMachine and State scripts above never mention the player specifically beyond the player variable. Rename it to actor (typed as CharacterBody2D) and the same machine drives enemies, NPCs or anything else that moves.
How do I prevent illegal transitions?
Keep an allowed-transitions dictionary in the machine and check it in _on_state_finished() before switching. My Godot Enum guide has a ready-made transition table you can adapt.
Conclusion
A Godot state machine replaces a pile of boolean flags with one clear rule: one state at a time, each state owns its logic. The enum approach gets you there in a single script and is the right call for small objects. The node approach adds a little structure up front and pays it back as soon as your character grows beyond a handful of states, with private per-state data, editor visibility and reusable states.
Build the enum version first. The moment you add a variable that only one state uses, you will know it is time to move to nodes.
Follow and Support me on Medium and Patreon. Clap and Comment on Medium Posts if you find this helpful for you. Thanks for reading it!!!