Phaser JS and Spine 2D: A Great Combination for Game Development
Developers can create rich and engaging games with the available tools and frameworks. One such powerful duo that has gained traction is Phaser JS and Spine 2D. Together, they provide game developers with the ability to create smooth animations and integrate them seamlessly into their games.
In this blog, we’ll explore why Phaser JS and Spine 2D are a great combination for game development and how they work together to bring your games to life.
Phaser JS:
Phaser JS is a fast and robust open-source game framework used to develop HTML5 games. Phaser JS is particularly great for developing 2D games and supports both Canvas and WebGL rendering.

Spine 2D:
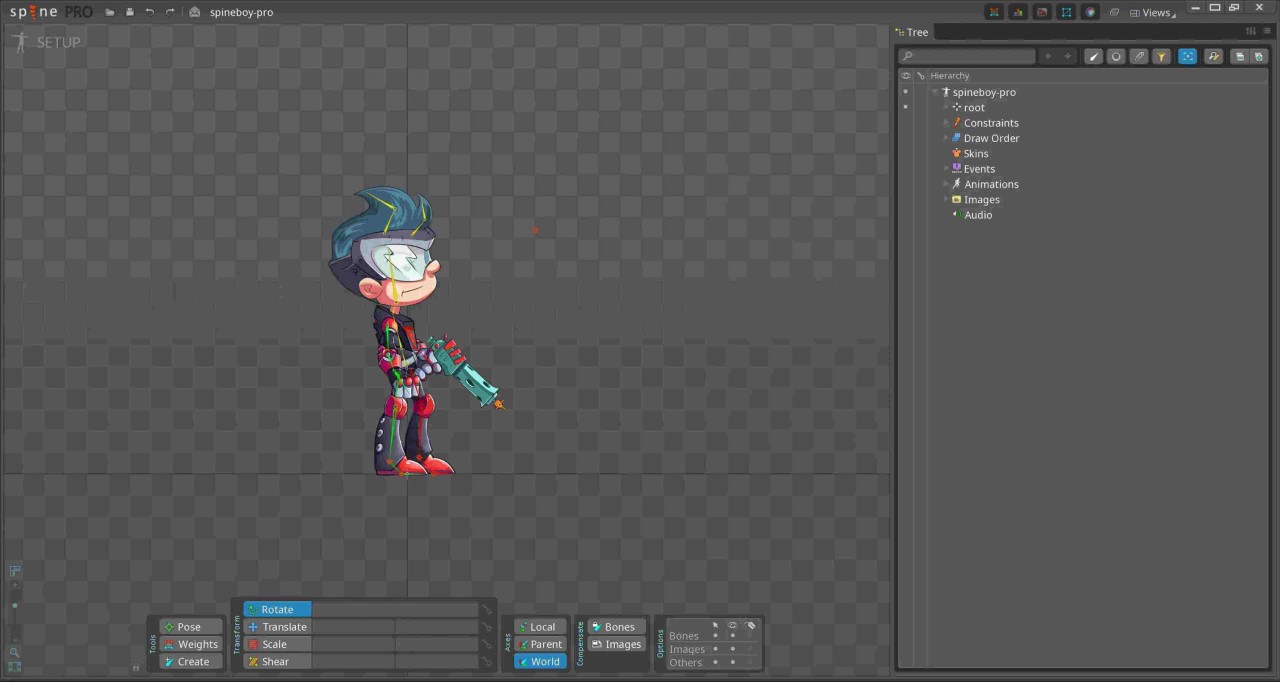
Spine 2D is an animation tool designed specifically for creating 2D skeletal animations. Unlike traditional frame-by-frame animations, Spine 2D focuses on the movement of bones and joints to animate characters.
Why? Some questions now should be raised in mind, why use Spine 2D for creating animations, Why not use Spritesheets?
Let me explain this,
hmm, Spritesheet is the most common way to create animations in game development but it has some drawbacks which we need to resolve,
Spritesheet
A sprite sheet is a bitmap image file that contains several smaller graphics in a tiled grid arrangement.
Let’s assume you have one character animation sprite sheet, which is 1MB in size, so what if you have 20 characters in a game? and Total will be 20MB.
This is just for characters, so imagine if you have backgrounds and much more then your game will take minutes to load. Nowadays, nobody wants to wait for seconds then who will wait for mints?
Spine 2D is the best solution who this problem. Now you will not load multiple files but a single image which will have all your images along with the .atlas file and the .json files.


The problem has just gone —
No, need to load multiple spritesheets. There are many other issues with sprite sheets like “multiple requests from the server to fetch all files”, “more code need to write” etc.
But with Spine 2D just a single .avif and the most interesting thing is that if your character has multiple skins like red, white, or black then even Spine 2D has a better solution for it. You just need to select a skin in the code by using .setSkin and also no need to recreate animations for each skin in Spine 2D. Much more…
Why need to use Spine 2D?
- Efficiency: Since you are manipulating bones and not redrawing entire frames, the animations are lightweight, using fewer resources.
- Flexibility: Animating with bones allows for smoother transitions and reusable animations across different characters or assets.
- Dynamic Animation: You can create animations that interact with physics or respond dynamically to gameplay, such as ragdoll effects or reactive movements.
Let’s now implement the code to add characters to the Phaser JS game. I am using “@esotericsoftware/spine-phaser”: “4.1.24” and “phaser”: “3.85.2”
Installation
Install the plugin of Spine 2d in Phaser JS by using the below command:
bashnpm install @esotericsoftware/spine-phaser
Configuration
After the installation, need to update the configuration of Phaser JS. Add the Plugin in the config which will be used to create the game.
jsimport Phaser from "phaser" import PreLoadingScene from "./Scenes/PreLoadingScene" import LoadingScene from "./Scenes/LoadingScene" import MainScene from "./Scenes/MainScene" import GameScene from "./Scenes/GameScene" import { SpinePlugin } from "@esotericsoftware/spine-phaser" const config: Phaser.Types.Core.GameConfig = { type: Phaser.AUTO, width: 1080, height: 720, physics: { default: 'arcade', arcade: { gravity: { x: 0, y: 100 }, debug: false } }, parent: "body", dom: { createContainer: true }, scale: { mode: Phaser.Scale.FIT, autoCenter: Phaser.Scale.CENTER_BOTH }, scene: [PreLoadingScene, LoadingScene, MainScene, GameScene], plugins: { scene: [{ key: "spine.SpinePlugin", plugin: SpinePlugin, mapping: "spine" }] } } export default config
Loading Assets
Using the Spine plugin, need to load the .json file, the .atlas file which will create the Spine Object later. There are three functions which we can use to load files.
The common way to import the Spine assets into a Phaser game is using the Phaser loader methods:
- spineBinary(key, url) - Loads .skel files containing skeleton and animation data.
- spineJson(key, url) - Loads the .json files containing skeleton and animation data.
- spineAtlas(key, url, premultipliedAlpha) - Loads the texture atlas files.
jsimport Phaser from "phaser" export default class LoadingScene extends Phaser.Scene { constructor() { super({ key: "LoadingScene" }) } preload() { this.load.image("logo2", "images/logo2.avif") this.load.image("buildings", "images/buildings.avif") this.load.image("tile", "images/tile.avif") this.load.spineJson("stickman", "stickman/stickman.json") this.load.spineAtlas("stickman-atlas", "stickman/stickman.atlas") this.cameras.main.setBackgroundColor(0xffffff) this.add.image( this.game.config.width as number / 2, this.game.config.height as number / 2 - 100, "full-logo" ).setScale(0.95) const barWidth = this.game.config.width as number - 60 const barHeight = 30 const barX = 30 const barY = this.game.config.height as number - 70 const loadingBar = this.add.graphics() loadingBar.fillStyle(0xff5592, 1) loadingBar.fillRoundedRect(barX, barY, barWidth, barHeight, 15) const progressBar = this.add.graphics() let progressText = this.add.text( this.game.config.width as number / 2, barY + 60, "Loading: 0%", { fontFamily: "Super-Smash", align: "center", color: "#f70343", fontSize: "24px" } ).setOrigin(0.5, 1) this.load.on("progress", (value: number) => { if (value > 0) { progressBar.clear() progressBar.fillStyle(0xf70343, 1) progressBar.fillRoundedRect( barX, barY, barWidth * value, barHeight, 15 ) } progressText.setText(`Loading: ${Math.floor(value * 100)}%`) }) } create() { this.cameras.main.setBackgroundColor(0xffffff) this.time.delayedCall(1000, () => { this.scene.start("MainScene") }) } update() { } }
Spine Object
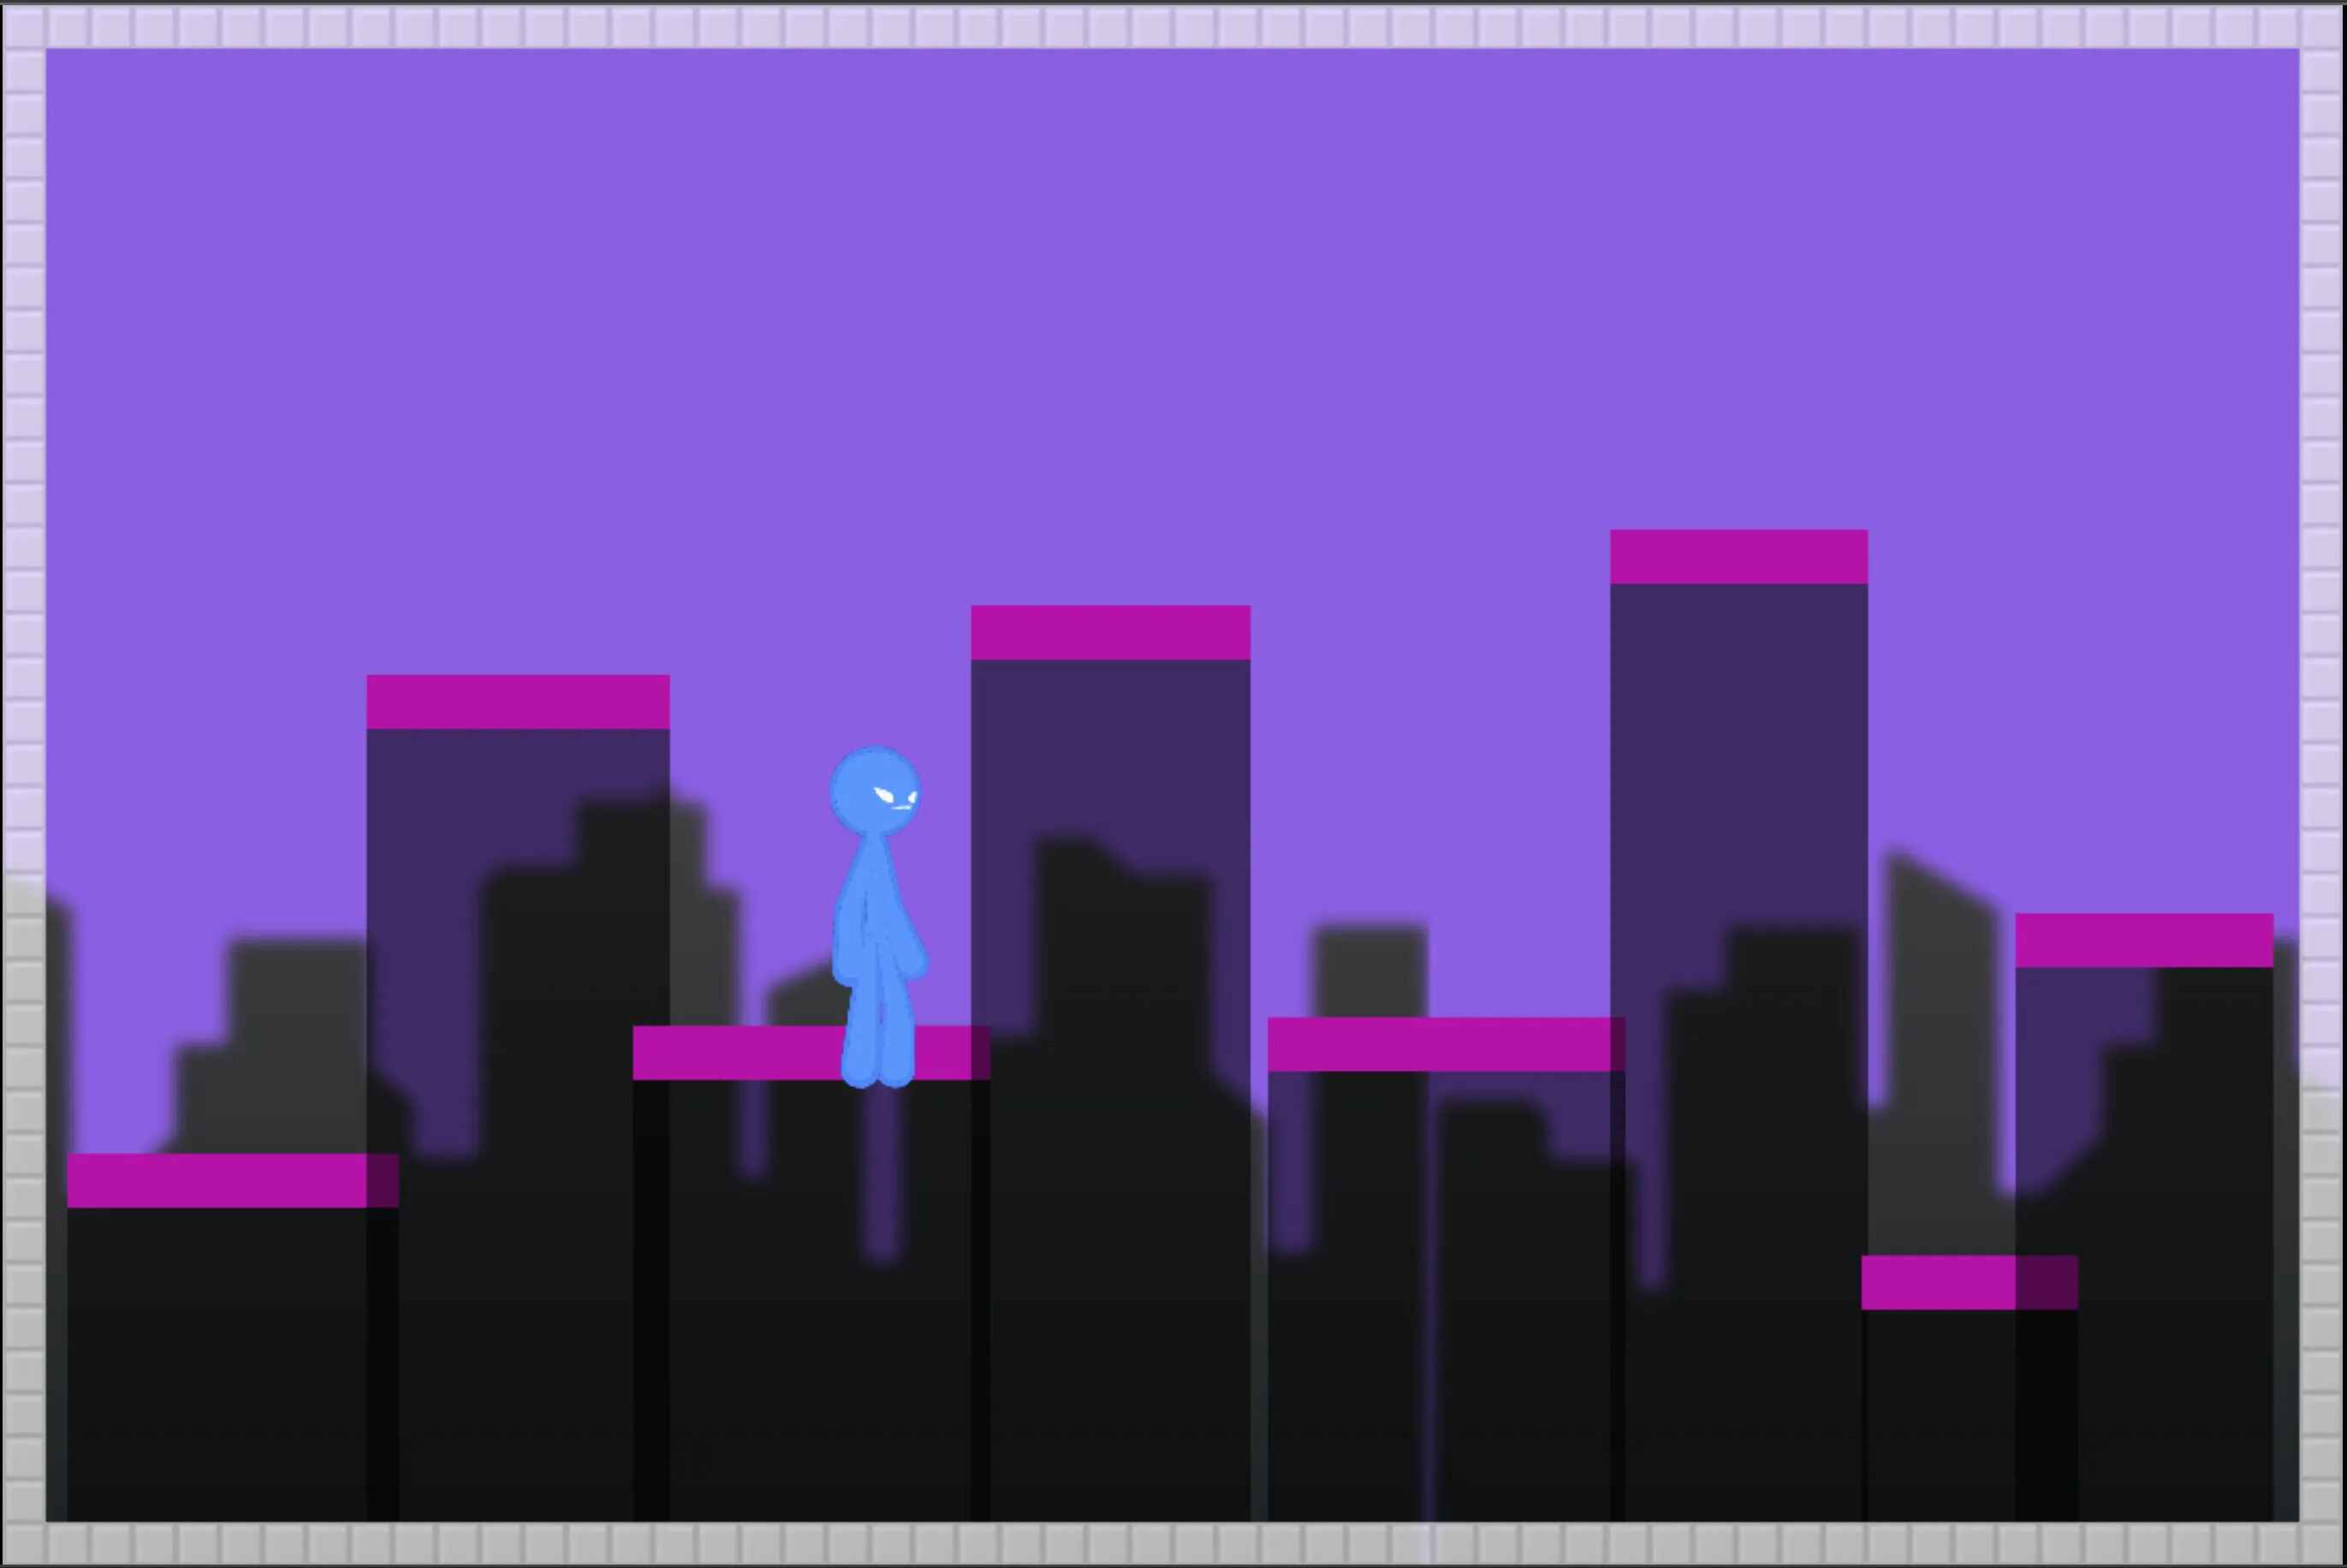
Everything is done, now we can load our character in Phaser JS by using .spine function.
jsimport Phaser from "phaser" import Ground from "../Components/Ground" import { BACKGROUND_COLOR, GROUND_COLOR, TILE_SIZE } from "../utils" import { SkinsAndAnimationBoundsProvider } from "@esotericsoftware/spine-phaser" export default class GameScene extends Phaser.Scene { private grounds: Ground[] constructor() { super({ key: "GameScene" }) this.grounds = [] } preload() { } create() { this.createBg() this.createTiles() this.createGrounds() // Create Spine Object const spineObject = this.add.spine(400, 500, "stickman", "stickman-atlas"); spineObject.skeleton.setSkinByName("color-presets/blue-shadow"); spineObject.setScale(0.15) // Play Animation spineObject.animationState.setAnimation(0, "1_/idle", true); } createBg() { this.cameras.main.setBackgroundColor(BACKGROUND_COLOR) this.add.tileSprite( Phaser.Math.Between(-300, -50), this.game.config.height as number + 20, 2 * (this.game.config.width as number), this.game.config.height as number - 200, "buildings" ).setOrigin(0, 1).setScale(0.75) } createTiles() { let tileScale = 1 - ((150 - TILE_SIZE) / 150) tileScale = tileScale > 1 ? 1 : tileScale this.add.tileSprite(0, 0, this.game.config.width as number, TILE_SIZE, "tile").setTileScale(tileScale, tileScale).setOrigin(0, 0).setAlpha(0.75) this.add.tileSprite(0, this.game.config.height as number - TILE_SIZE, this.game.config.width as number, TILE_SIZE, "tile").setTileScale(tileScale, tileScale).setOrigin(0, 0).setAlpha(0.75) this.add.tileSprite(0, TILE_SIZE, TILE_SIZE, this.game.config.height as number - 2 * TILE_SIZE, "tile").setTileScale(tileScale, tileScale).setOrigin(0, 0).setAlpha(0.75) this.add.tileSprite(this.game.config.width as number - TILE_SIZE, TILE_SIZE, TILE_SIZE, this.game.config.height as number - 2 * TILE_SIZE, "tile").setTileScale(tileScale, tileScale).setOrigin(0, 0).setAlpha(0.75) this.physics.world.setBounds(TILE_SIZE, TILE_SIZE, this.game.config.width as number - TILE_SIZE, this.game.config.height as number - TILE_SIZE) } createGrounds() { let groundX = TILE_SIZE + Phaser.Math.Between(10, 20) let groundY = this.game.config.height as number - TILE_SIZE let lastGroundHeight = -1 let canCreateGround = true while (canCreateGround) { let groundWidth = Phaser.Math.Between(80, 180) let groundHeight = Phaser.Math.Between(100, 550) if (lastGroundHeight !== -1) { while (Math.abs(lastGroundHeight - groundHeight) < 150) { groundHeight = Phaser.Math.Between(100, 550) } } lastGroundHeight = groundHeight if (groundWidth + groundX > (this.game.config.width as number - TILE_SIZE)) { groundWidth = (this.game.config.width as number - TILE_SIZE) - groundX - Phaser.Math.Between(5, 15) canCreateGround = false } let ground = new Ground(this, groundX, groundY, groundWidth, groundHeight, GROUND_COLOR) this.grounds.push(ground) groundX += groundWidth + Phaser.Math.Between(-30, 10) if (groundX > (this.game.config.width as number - TILE_SIZE - groundWidth)) { canCreateGround = false } } } update() { } }
Enjoy it now!!!
Conclusion
The combination of Spine 2D and Phaser JS is a game-changer for 2D game developers. With Spine 2D’s powerful animation capabilities and Phaser’s performance and ease of use, you can create games that are not only visually stunning but also efficient and cross-platform compatible.
Follow and Support me on Medium and Patreon. Clap and Comment on Medium Posts if you find this helpful for you. Thanks for reading it!!!

